![]()
Darktable RAW image editor 3.0 was released today with new major updates. Here’s how to install it in Ubuntu 18.04, Ubuntu 19.04, and Ubuntu 19.10.
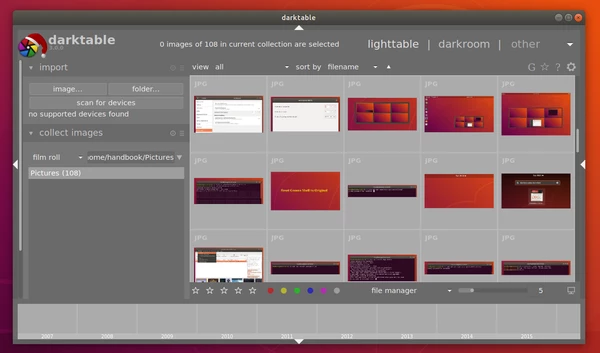
Darktable 3.0 comes with a complete rework of the user interface. The GUI now is fully controlled by GTK+ CSS rules, which makes the whole GUI themable. And this version comes with several different themes.
Other changes in the release include:
- New shortcuts to collapse borders, sidebars, histogram and navigation modules, allowing a new borderless editing experience.
- Undo/redo support in lighttable for tags, color labels, metadata, etc.
- A new timeline view in the lighttable.
- A new ‘culling’ mode added to the lightable view.
- Improved support for 4K and 5K monitors.
- Support for exporting to Google Photos
- More camera support, white balance presets, and noise profiles
- See the full changes in the github.
How to Install Darktable 3.0 in Ubuntu:
The darktable release PPA seems no longer being updated. I’ve uploaded the 3.0 packages into the unofficial PPA for 64-bit Ubuntu 18.04, Ubuntu 19.04, Ubuntu 19.10.
1. Open terminal (Ctrl+Alt+T) and run command to add the PPA:
sudo add-apt-repository ppa:ubuntuhandbook1/darktable
Type user password (no asterisk feedback) for sudo prompts and hit Enter to continue.

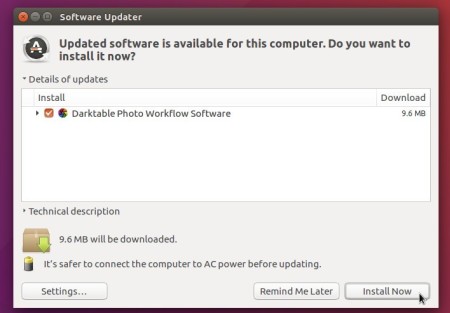
2. If an old version was installed, upgrade it using Software Updater:
or run commands in terminal to install Darktable:
sudo apt update

sudo apt install darktable
Uninstall:
To remove the PPA, either launch Software & Updates and navigate to Other Software, or run command in terminal:
sudo add-apt-repository --remove ppa:ubuntuhandbook1/darktable
To remove the RAW image editor, use Ubuntu Software.