
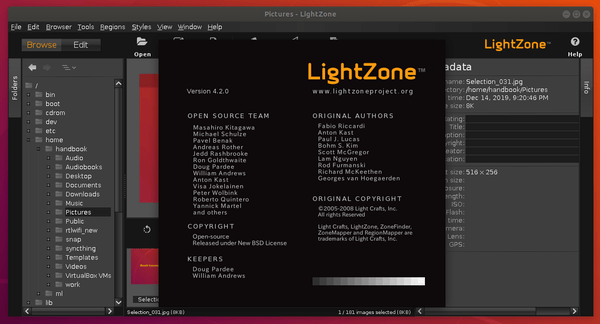
LightZone, professional-level digital darkroom and photo editor, released version 4.2.0 a few days ago. Here’s how to install it in Ubuntu 18.04, Ubuntu 19.10, and Ubuntu 20.04.
LightZone is a free, open-source digital photo editor software application runs in Linux, Windows, and Mac OS. Its main purpose is to handle the workflow, including non-destructive editing when handling images in various RAW formats.
The latest LightZone 4.2.0 features:
- Lens Correction Tool – distortion / TCA correction using Lensfun
- Film Grain Tool
- Horizontal / Vertical Flip button
- Better HiDPI support
- Speed up Bayer demosaicking code
- Migrated to Java 11
The new release changes also include: renew some of button icons using jIconFont, speed up Editor rendering by reusing tile cache from different zoom level, generate and include custom Java Runtime Environment bundle for Windows and macOS packages.
How to Install LightZone 4.2.0 in Ubuntu:
Dariusz Duma maintains a PPA repository that contains the latest packages for Ubuntu 18.04, Ubuntu 19.10, Ubuntu 20.04, and their derivatives.
1. Open terminal by either pressing Ctrl+Alt+T on keyboard or searching for “Terminal” from application menu. When it opens, run command:
sudo add-apt-repository ppa:dhor/myway
Type user password (no asterisk feedback due to security reason) when it prompts and hit Enter to add the PPA.

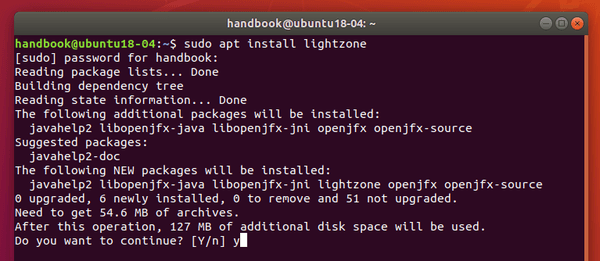
2. Then run command to install the photo editor application:
sudo apt install lightzone
Uninstall:
To remove LightZone, run command in terminal:
sudo apt remove lightzone
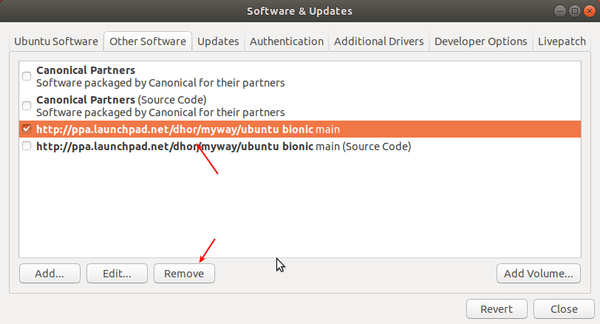
To remove the PPA repository, launch Software & Updates utility and navigate to ‘Other Software’ tab, and remove the repository line.