![]()
Oracle Java 16 was announced as a short release with 6-month support. Here’s how to install it in Ubuntu 14.04, Ubuntu 16.04, Ubuntu 18.04, Ubuntu 20.04, Ubuntu 20.10 via PPA.
New features in the release include:
- Vector API (Incubator)
- Enable C++14 Language Features
- Migrate from Mercurial to Git
- Migrate to GitHub
- ZGC: Concurrent Thread-Stack Processing
- Unix-Domain Socket Channels
- Alpine Linux Port
- Elastic Metaspace
- Windows/AArch64 Port
- Foreign Linker API (Incubator)
- Warnings for Value-Based Classes
- Packaging Tool
- Foreign-Memory Access API (Third Incubator)
- Pattern Matching for instanceof
- Records
- Strongly Encapsulate JDK Internals by Default
- Sealed Classes (Second Preview)
The “Linux Uprising” team ppa has made the installer script, which automatically downloads and installs Oracle JDK 16 package, and sets Java 16 as the default Java version (setting JAVA_HOME, etc.) on 64-bit Ubuntu based system.
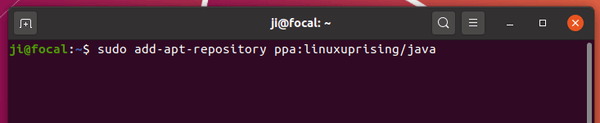
1.) Open terminal and run command to add the PPA:
sudo add-apt-repository ppa:linuxuprising/java
Type user password (no asterisk feedback) when it asks and hit Enter to continue.
2.) After adding PPA, refresh system package cache and install the script:
sudo apt update

sudo apt install oracle-java16-installer
If you don’t want to set Java 16 as default, replace the last command with:
sudo apt install oracle-java16-installer --no-install-recommends
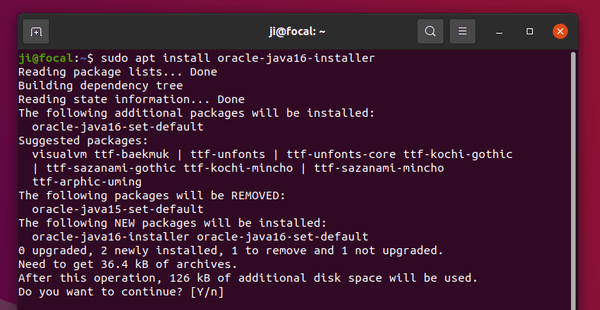
Once the package is installed, you have to accept the license (press Tab to highlight) before starting the download process.
And after installed Oracle Java 16, check via java --version command:
(Optional) To uninstall the PPA repository, run command in terminal:
sudo add-apt-repository --remove ppa:linuxuprising/java
And remove Oracle Java 16 if you want by running command:
sudo apt-get remove oracle-java16-installer