![]()
Blender 3.0 was finally released! Here’s what’s new and how to install it in Ubuntu.
The new release of the animation creation software features 2x ~ 8x faster GPU rendering, magnitudes faster loading and saving compressed .blend file. Also, it has updated theme, and a bunch of new options to customize UI layout.
Other features in Blender 3.0 include:
- New asset browser includes materials, objects, and world data-blocks
- New pose library.
- Text Nodes.
- Brand new set of VR controller-based functionality
- NVIDIA CUDA/OptiX and AMD HIP support.
- New ‘Fields‘ to build node groups.
- And much more, see release note for details.
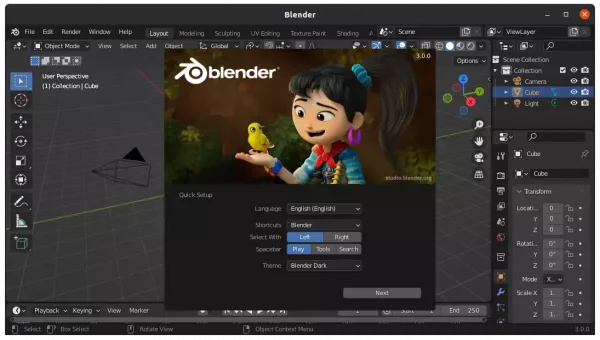
How to Install Blender in Ubuntu Linux:
The easiest way to get Blender 3.0 is installing the official Snap package. Users may simply search for and install it from Ubuntu Software:
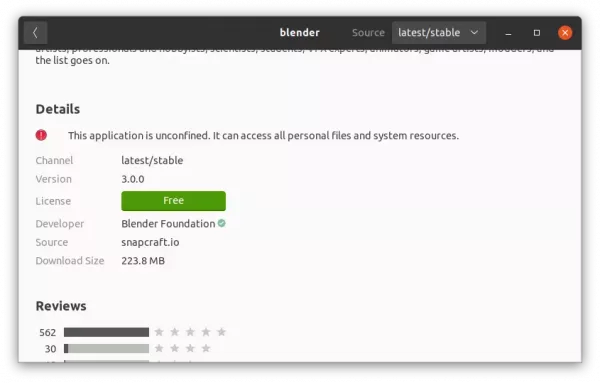
NOTE: there are more than one blender packages in Ubuntu Software app, check package details and install the one from snapcraft.io
Install Blender via official Linux tarball:
Some users do not like snap since it needs separate daemon to run in sandbox. There’s a third-party PPA maintains the software package, though it’s not updated at the moment and it requires updated FFmpeg library that may cause dependency conflicts to other packages in your system.
For choice, Blender Foundation provides official Linux Tarball that you may use following steps to install it.
1. Download Blender Linux Tarball
First, go to the official download page. Click download Blender 3.0 for Linux. It’s a 64-bit tarball ‘blender-3.0.0-linux-x64.tar.xz‘ for modern desktop PC.
2. Extract Tarball to /opt for global use:
Here I’m going to extract the tarball to /opt directory and create app shortcut for Blender 3.0. You may skip adding app shortcut, instead extract the tarball in Downloads folder and click run the executable to launch Blender.
1.) Press Ctrl+Alt+T on keyboard to open terminal. When it opens, run command to backup old blender folder under ‘/opt’ if any:
sudo mv /opt/blender /opt/blender.back
Ignore ‘No such file or directory’ output.
2.) Create new blender folder under /opt:
sudo mkdir /opt/blender
3.) Extract Blender 3.0 tarball from Downloads folder to the new created folder:
sudo tar -Jxf ~/Downloads/blender-3.0.0-linux-x64.tar.xz --strip-components=1 -C /opt/blender
sudo nautilus ~/Downloads command is required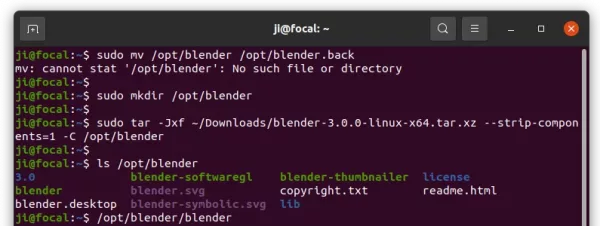
Extract Blender to /opt
3. Verify if the Blender executable works:
After extracting the Linux tarball into /opt/blender. User may run command to list that directory to verify:
ls /opt/blender
And, run this command should launch the software:
/opt/blender/blender
Sometimes, app may refuse to launch due to missing shared library. If so, copy the library name and search in packages.ubuntu.com under ‘Search the contents of packages’ to find out the required package and install it.
4. Create app shortcut for Blender 3.0:
The Linux tarball includes the shortcut file by default, though it won’t work due to wrong file path. Run command in terminal to open the file via gedit text editor:
sudo gedit /opt/blender/blender.desktop
When it opens, change the ‘Exec’ and ‘Icon’ lines into:
Exec=/opt/blender/blender %f

Icon=/opt/blender/blender.svg
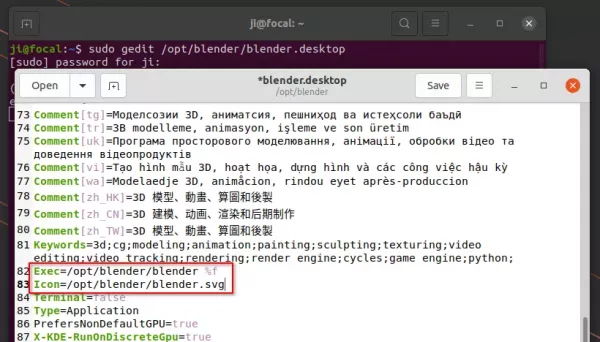
Edit Blender Desktop file
Finally, copy the file to either ‘.local/share/applications’ for single user use, or ‘/usr/share/applications’ for global use:
sudo cp /opt/blender/blender.desktop ~/.local/share/applications/
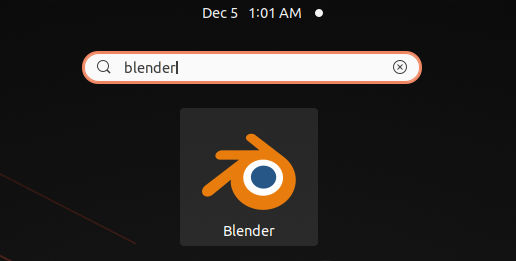
Here I copied the app shortcut file to local folder for single use. And, the app icon shows in ‘Activities’ overview search result immediately. Though, it’s better to change the ownership to yourself.
sudo chown $USER:$USER ~/.local/share/applications/blender.desktop
NOTE: If you still have old Blender package in system, there will be more than one app icons.
Remove Blender:
To uninstall Blender installed via previous steps, simply remove the folder under /opt directory via command:
sudo rm -R /opt/blender
And remove the app shortcut file via:
rm ~/.local/share/applications/blender.desktop
In case you didn’t change the ownership, add sudo at the beginning to get pass permission issue.

