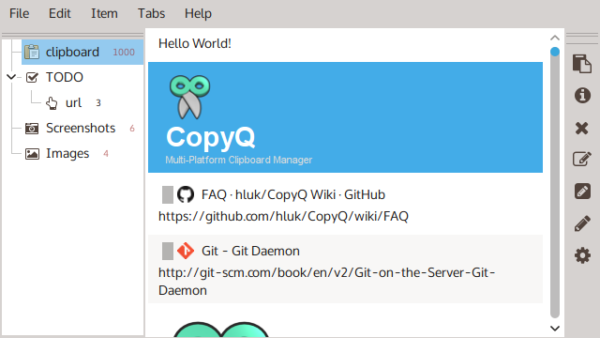
CopyQ, open-source clipboard manager with editing and scripting feature, released version 3.9.1 today. Here’s how to install it in Ubuntu.
CopyQ 3.9.1 release highlights:
- Commands are moved to a separate configuration file “copyq-commands.ini”.
- Horizontal tabs in the configuration dialog were replaced with a list of sections so it’s possible to view all of the sections even in a smaller window.
- New option
hide_main_window_in_task_barcan be set using copyq confighide_main_window_in_task_bar true. - New
logs()script function prints application logs. - New
clipboardFormatsToSave()script function allows to override clipboard
formats to save. - Some hidden options can be modified using
config()script function. - Font sizes in items and editor are limited to prevent application freeze.
- Application icons are cached so as to avoid creating icons for the snip
animation again. - And various bug-fixes.

How to Install Copyq 3.9.1 in Ubuntu:
The official PPA repository has made the latest packages for Ubuntu 16.04, Ubuntu 18.04, Ubuntu 19.04, and Linux Mint 18.x, 19.x.
1. To add the PPA, open terminal (Ctrl+Alt+T) from application menu and run command:
sudo add-apt-repository ppa:hluk/copyq
Type user password (no asterisk feedback due to security reason) when it prompts and hit Enter to continue.

2. After added the PPA repository, install CopyQ either via Synaptic package manager or by running commands in terminal:
sudo apt-get update

sudo apt-get install copyq
Once installed, start the clipboard manager from application menu and you’ll see the icon in system tray area.
Uninstall:
To remove the software, either use Synaptic package manager or run command:
sudo apt-get remove --autoremove copyq
To remove PPA repositories, launch Software & Updates and navigate to Other Software tab.


