As some of you may already be familiar with the Kyocera brand and it’s offerings in printing solutions to the Small and Medium Enterprise’s (SMEs) as well as fleet printing, and corporate solutions that many businesses seem to enjoy. These printing systems have shown time and time again that they are not usually made of the same consumer grade materials, that you may find in your parents study/home-office but are made of stronger semi-industrial and industrial components thus giving them a long product shelf life.
This long product shelf life is usually beneficial in the terms of hardware durability and reliability to perform well under heavy use load over time, however when it comes to the ever evolving nature of software used in the digital world, this is where some devices end up falling short on for Maintenance and Compatibility in the long term.
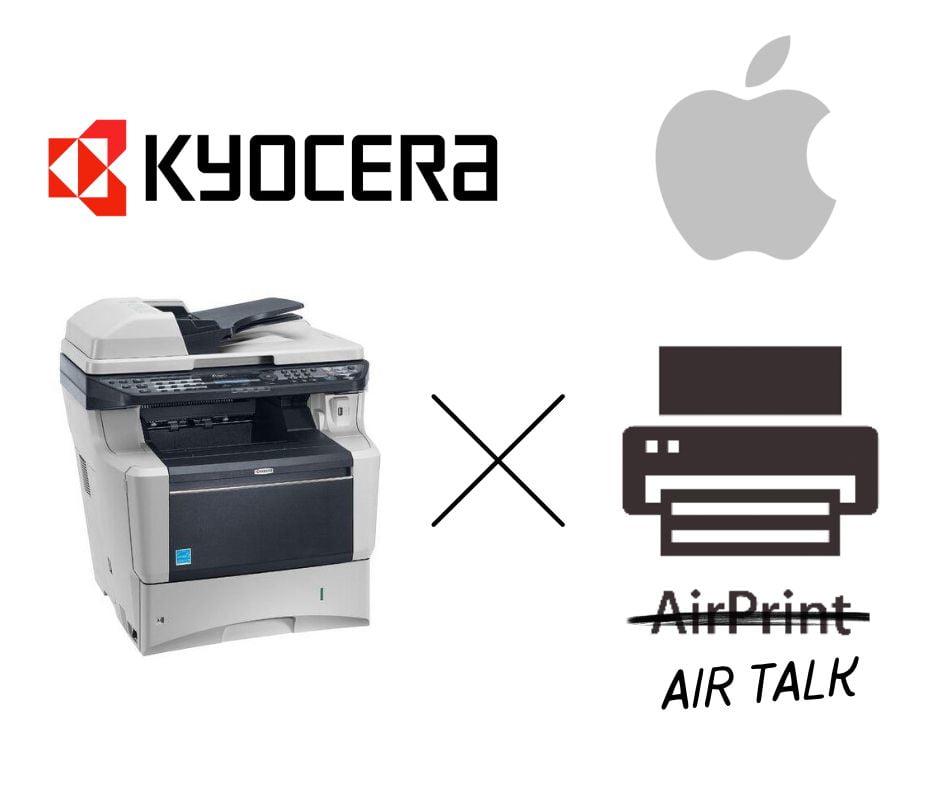
In this example we will be utilising a Kyocera FS-3140MFP+ that supports the outdated AirTalk for Apple’s printing environment on Macbook’s, sadly AirTalk has over time evolved into the headless/plug and play solution known today as AirPrint since its introduction started in 2010 to be a way that allows easy way to print and scan to and from IOS and Mac OS devices, So this should be easy right since air talk is a predecessor, right?
The sad reality is that Air Talk was apple’s early attempt at what is Air print which did not really take off till the Ipad and Iphone became more common in peoples hands in 2014, and this brings us to ask the question is Air Print back word compatible to its predecessor Air Talk well…. no, not really there is a few hurdles but this guide will show you and a somewhat easy work around that took a while for some our members to figure out. but its so simple that it made us experienced techies facepalm at the time.
Which brings us to why we wrote this article, Some of our members have a few fairly recent Apple Macs and one of which was the fairly new M1 Macbook and needed to print at the clubhouse.
So first like most Linux and Windows installations has thought us is that we need to refer to the official manufactures site for documentation and driver support (if any is freely available) as instructed below
- Visit Kyocera Support. ( Direct link for Kyocera FS-3140MFP+ UK )
- Look up the drivers/software needed for your print device (model number)
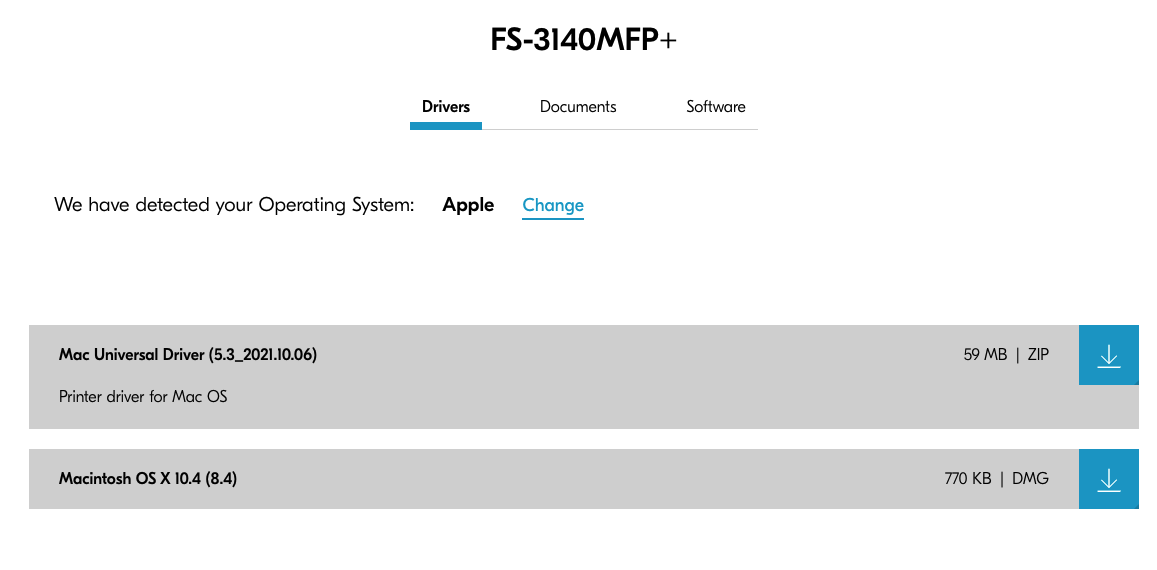
- once on the product page, choose the Operating System your device uses ( eg: Mac OS)
- If available download the Universal Driver ( for macbooks this was v5.3_2021.10.06 at time of writing)
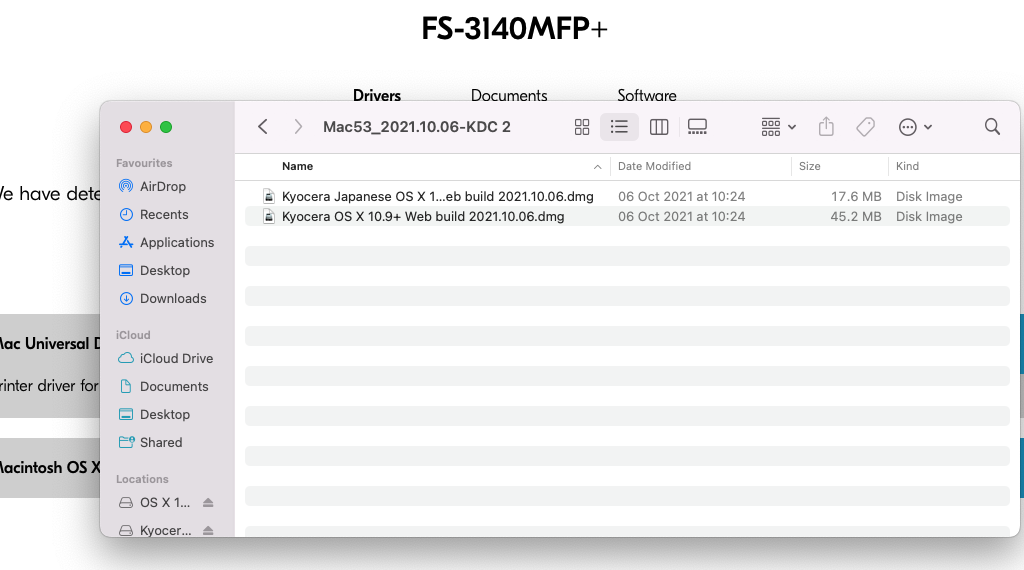
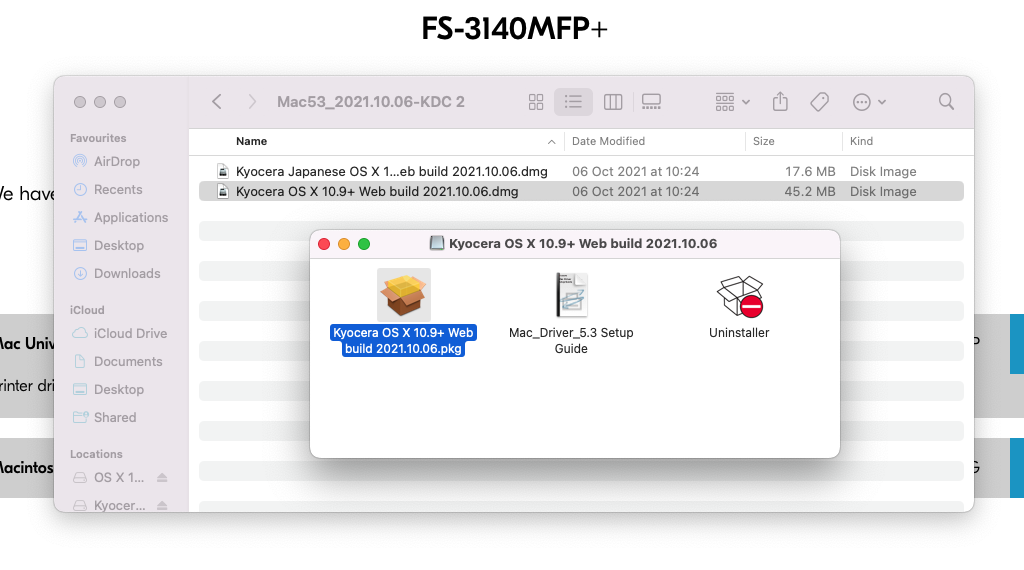
- Once the Zip file is downloaded, you will find it in your downloads folder, double click and you should be presented with .DMG installers for Mac OS
- Select the correct Language installer ( we chose global english)
- You may be presented with the option of using the package installer, view setup guide or to run the uninstaller
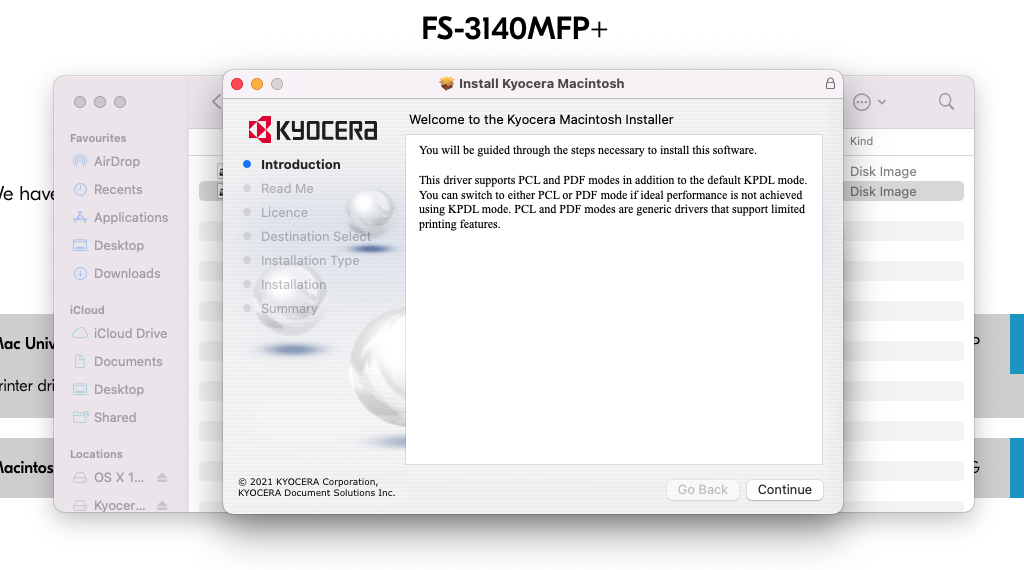
- Run the package installer (ending in .pkg)
- Follow installation instructions given by the installer, once installation is successful follow the next step
- Open System Preferences from the Top right Apple logo
- Open Printers & Scanners, then press the + add button to add a printer
- A new window will show up with nearby printers, we will press the globe looking icon and enter the network details of the current Kyocera printer on the network
- you should have these details in hand from the Status report sheet from the printer itself)
- Once the details of the printer have been inputted it should mark the correct driver, how ever the protocol may mark up as Air Talk or IPP, both of these will allow the printer to communicate to your macbook (from 2011 onwards) but will not print, But selecting the HP Socket Protocol is used this allows us to print using CUPS, then click on add printer.
- once the printer show ups in your list, open the que, and send a test print, this will mark using the CUPS print system on the test page and you are done.
This article was written using an M1 Macbook Air and a few older macs going as far back as 2011 model to see if this was an across the board issue and solution. (We also suspect other kyocera models with built in Air Talk may also work using the same workaround method in this article.
Linux and windows users remain unaffected and their Kyocera drivers work well out of the box.

