![]()
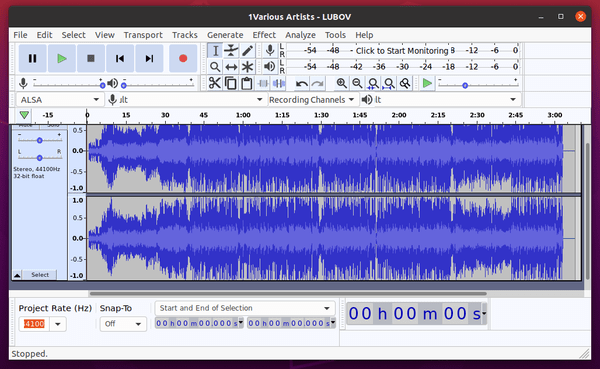
Audacity audio editor 2.4.0 was released a few days ago. The release was paused due to a critical bug. Now version 2.4.1 arrived with quick fixes.
What’s new in Audacity 2.4.1:
- Works on Mac Catalina.
- New Time Toolbar.
- Presets for more effects can be imported and exported.
- New Multi-View mode for tracks.
- Export audio to Opus in Windows, Linux.
- Easier to convert labels between point labels and range labels.
- New Loudness Normalization effect.
- New RMS measurement analyzer.
- New Noise Gate effect.
- New Spectral Delete effect.
- Tons of bug-fixes.

How to Install Audacity 2.4.1 in Ubuntu:
The unofficial PPA has built the new release packages for Ubuntu 20.04.
Due to build dependencies issue, packages for Ubuntu 18.04, Ubuntu 19.10, will be available in a few days.
1. Open terminal either via Ctrl+Alt+T keyboard shortcut or by searching for ‘terminal’ from application menu. When it opens, run command to add the PPA:
sudo add-apt-repository ppa:ubuntuhandbook1/audacity
Type user password (no asterisk feedback due to security reason) when it prompts and hit Enter to continue.

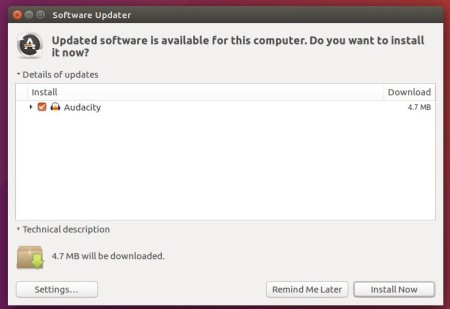
2. If you have a previous version installed, you can upgrade Audacity via Software Updater after adding the PPA.

or run following commands one by one to check updates and install (or upgrade) audacity 2.4.1:
sudo apt update

sudo apt install audacity
Uninstall:
To remove the PPA repository, launch Software & Updates utility and navigate to ‘Other Software’ tab.
To remove Audacity audio software, either use system package manager or run command in terminal:
sudo apt-get remove --autoremove audacity audacity-data


