![]()
This is a step by step guide shows how to install Blender app in Ubuntu 24.04 Desktop.
Blender is a popular free open-source 3D graphics software works in Linux, Windows, and MacOS.
Ubuntu includes the software package in system repository, but always old as you know. The upside is that it supports all platforms, including x86_64 (AMD/Intel), arm64 (e.g., Raspberry Pi), ppc64el (IBM Power platform), RISC-V 64, and s390x (IBM zSystems and LinuxONE).
For Ubuntu user on x86_64 (AMD/Intel) computers, the latest version can be installed through following packages:
- Official Linux Tarball.
- Official Snap package (runs in sandbox).
- Flatpak package (Community maintained and runs in sandbox).
And, here’s the beginner’s guide show you how to install them in Ubuntu 24.04. Choose install any one of them that you prefer.
Option 1: Install Blender via Snap package
The Snap is the easiest way to install Blender and keep it up-to-date, though it runs in sandbox environment.
For all current Ubuntu releases, simply open App Center (or Ubuntu Software), then search and click install the package (choose the one in snap store).
For choice, you may press Ctrl+Alt+T on keyboard to open terminal, and run command to install the Snap package instead:
snap install blender --classic
The Snap package automatically receive updates! If a newer version of the 3D creation software is out, and you can’t wait for the auto-update, then, run command instead to update manually:
snap refresh blender
Uninstall Blender Snap package
To remove the software package as Snap, either use App Center (Ubuntu Software), or run command:
snap remove --purge blender
Option 2: Install Blender via Linux Tarball
For those who don’t like running app in sandbox environment, the official Linux tarball is available for choice.
1. First, go to blender website via the link button below, and click big ‘Download Blender x.x‘ button to download the tarball in Linux.
For non-Linux system, click the other versions selection box, and select download the first “Linux” package (see the screenshot below).
2. After downloaded the tarball, open your Downloads folder and extract it. Finally, you can navigate to the new generated folder and click “Run” the blender executable file to launch the software.
launch blender from file
3. Add App Icon for launching from start menu (App Grid). If you like this package, then you can add the Blender app icon to start menu or app grid depends on your desktop environment.
To do so, first move the extracted folder to another location for long time use. In my case, I created an Apps folder in user home, then move the Blender folder into it!
Next, right-click on the folder and click “Open in Terminal” option to open up a terminal window, with the folder as working directory.
When the terminal window opens, do:
- Run command to list content, it should contains a list of blender relevant files and sub-folders.
ls
- Next, run command to create a symbolic links for the executable file to user’s local bin folder.
ln -s $PWD/blender ~/.local/bin
$PWDis required to output current directory. After running this command, you should be able to open any other terminal (Ctrl+Alt+T) and run blender command in anywhere to launch the software. - Then, copy app icon to local folder, so your system can find it:
mkdir -p ~/.local/share/icons && cp blender.svg ~/.local/share/icons
The local icons folder does not exist out-of-the-box. Just in case, use
mkdircommand with-poption to try creating it. - Finally, copy (or move) the
blender.desktopfile into.local/share/applicationsdirectory:cp blender.desktop ~/.local/share/applications
And run
update-desktop-databaseto apply. After that, your system can read this.desktopfile, and show app icon in menu.
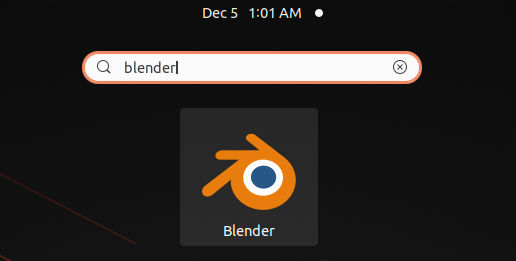
If everything’s done properly, you’re then able to search for and launch Blender from menu or Gnome overview.

Uninstall the Blender Tarball (App Icon)
To uninstall this portable package, first delete the Blender folder using your file manager.
Also delete the executable link file (.local/bin/blender) and .desktop file (.local/share/applications/blender.desktop) from corresponding directories.
Or, just open terminal and run command below instead:
rm ~/.local/bin/blender ~/.local/share/applications/blender.desktop
Option 3: Install Blender as Flatpak Package
For choice, Blender is available to install as Flatpak package, which also runs in sandbox environment.
First, press Ctrl+Alt+T to open terminal, then run command to enable Flatpak support:
sudo apt install flatpak
Next, run command to install Blender Flatpak package:
flatpak install https://dl.flathub.org/repo/appstream/org.blender.Blender.flatpakref
First installing Flatpak app will have lots of download for the run-time libraries, see the screenshot below.
After installation, log out and back in (only required for first time enabling Flatpak support), finally search for and launch Blender from start menu or Gnome app grid and enjoy!
To update the Blender Flatpak package, use command:
flatpak update org.blender.Blender
Uninstall Blender Flatpak package
To uninstall Blender Flatpak package, open terminal (Ctrl+Alt+T) and run command:
flatpak uninstall --delete-data org.blender.Blender
Also run flatpak uninstall --unused to clear useless run-time libraries.


