![]()
The popular Kodi media center has the first update in 2022 by releasing v19.4. Here’s how to install it in Ubuntu.
The release fixed many issues in the Kodi 19 “Matrix”, including Chinese keyboard character display issue, seekbar wouldn’t disappear when pause via a remote app, EDL mute now working, flickering with interlaced H.264 SD on AMD GPUs. For Linux, it now automatically plays DVDs.
And for Xbox users, it may now passthrough audio via WASAPI, and install Python add-ons without permission issue. See release note for more about Kodi 19.4.

How to Install Kodi 19.4 in Ubuntu:
Kodi has an official Ubuntu PPA. It usually contains the latest packages for all current Ubuntu releases.
1. Add Kodi PPA.
Firstly, open terminal either by searching from the activities overview screen or by pressing Ctrl+Alt+T on keyboard.
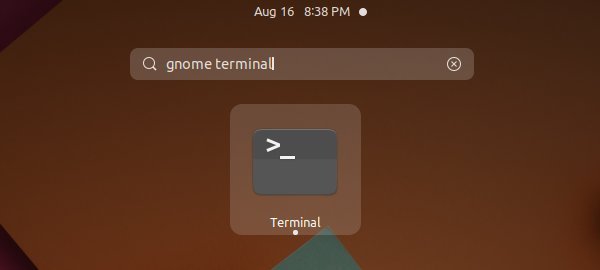
When terminal opens, paste the command below into it and hit Enter to add the PPA:
sudo add-apt-repository ppa:team-xbmc/ppa
Type user password when it asks (no asterisk feedback) and hit Enter to continue.

2. Install / Upgrade Kodi.
If you’re now running the stock version of Kodi package in Ubuntu, the Software Updater may refuse to update it. So it’s recommended to use the command below to install or update the media player.
Firstly refresh system package cache for old Linux, e.g., Ubuntu 18.04, by running command:
sudo apt update
Next, install or upgrade Kodi via command:
sudo apt install kodi
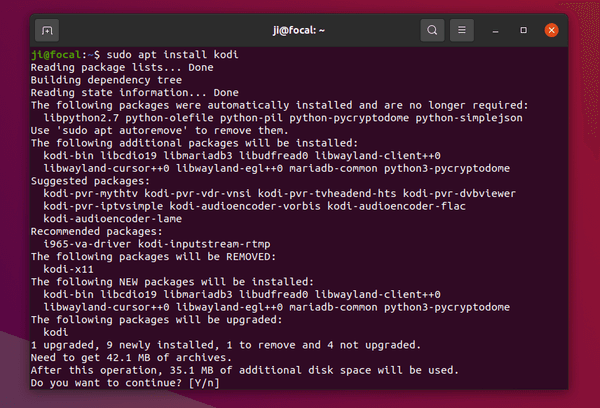
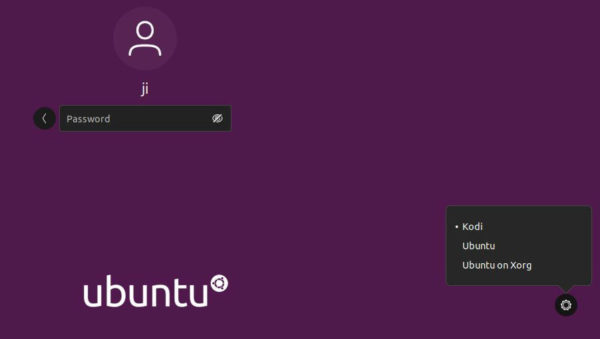
Once installed, you may open Kodi like normal apps by searching from the overview screen. Or log out and select login via Kodi session.
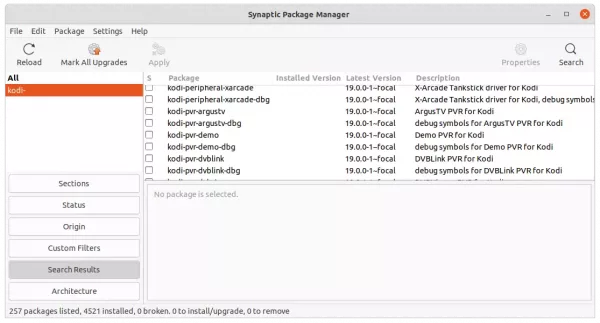
The PPA also provides more audio encoder and PVR add-ons packages. Install them as you need via either apt command or synaptic package manager.
How to Downgrade:
You can purge the Ubuntu PPA as well as downgrade Kodi to the stock version available in Ubuntu main repositories. To do so, run command:
sudo apt install ppa-purge && sudo ppa-purge ppa:team-xbmc/ppa


