
Ubuntu 23.04 has been released! Besides installing from new .iso image, here’s a step by step guide shows how to upgrade from Ubuntu 22.10.
NOTE: The Upgrade process may fail! So it’s HIGHLY recommended to backup your important data first!! And, Ubuntu 22.04 LTS can even follow this tutorial twice to upgrade to 22.10 first, and then to 23.04.
Before getting started:
Backup! Backup! Backup! The most important thing to do first is to backup your important data! The upgrade process could fail due to various reasons, such as power interruption, network issue, or even poor software packages on your system.
1. Before getting started, search for and open “Software & Updates” utility. When it opens, navigate to “Other Software” tab, then disable or remove all third-party PPAs.
2. Also, in “Software & Updates” utility, navigate to “Additional Drivers” tab. Then, select and apply open-source driver, if a proprietary driver is in use.
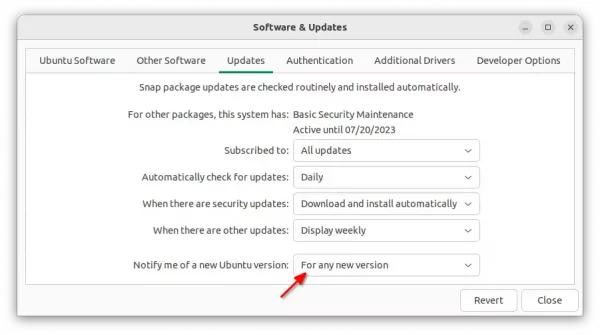
3. In “Software & Updates“, switch to “Updates” tab. Then, select “For any new version” for “Notify me of a new Ubuntu version” drop-down box.
4. Also, search for and launch “Extension Manager” or “Gnome Extensions” app depends on which one you installed, and disable all user-installed Gnome Shell Extensions to avoid compatibility issues.
Upgrade to Ubuntu 23.04
Now, search for and open “Software Updater” from either overview or ‘Show Applications’ screen. When it opens, install all available package updates.
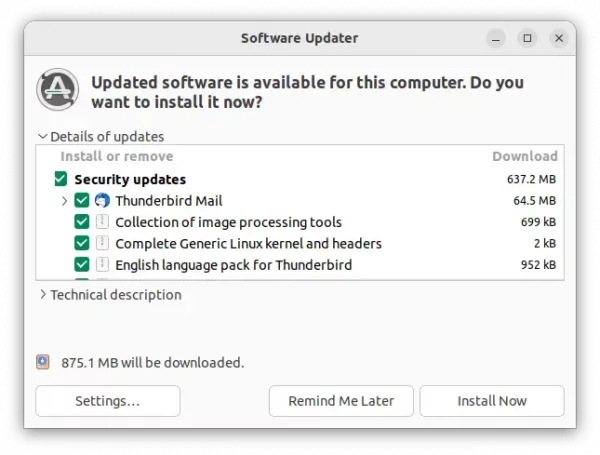
When done, restart your computer if it prompts to.

Finally, press Ctrl+Alt+T on keyboard to open terminal. And, run command to start software updater and check distribution upgrade!
update-manager -c
If all package updates are properly installed, and useless packages removed, then it should prompt that Ubuntu 23.04 is available.

Just click on “Upgrade” button. Then it will open the release note dialog for Ubuntu 23.04. In my case, it shows a blank page, though it’s not a big deal.
Click “Upgrade” button again. Then it opens the wizard to download and setup the software sources.
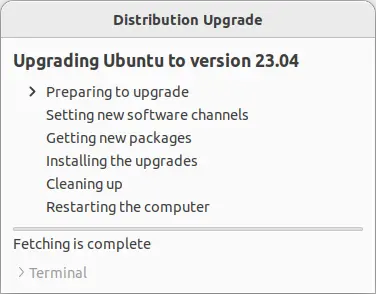
When done “Setting new software channels”, it will ask for confirm again. Before clicking “Start Upgrade” button, it’s the last chance to cancel the upgrading the process!
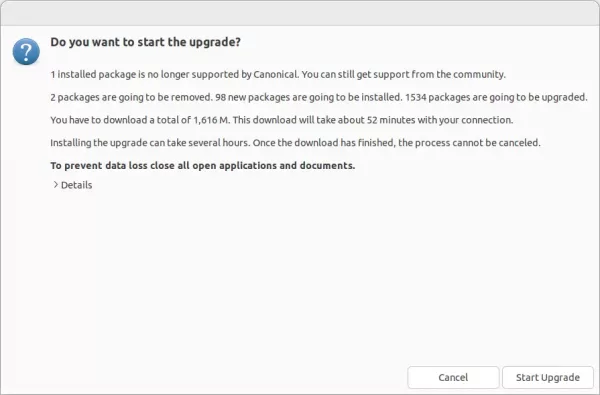
Once you clicked “Start Upgrade” button, it starts downloading and installing all required packages. It can take quite a few minutes depends on your network speed and computer specs.
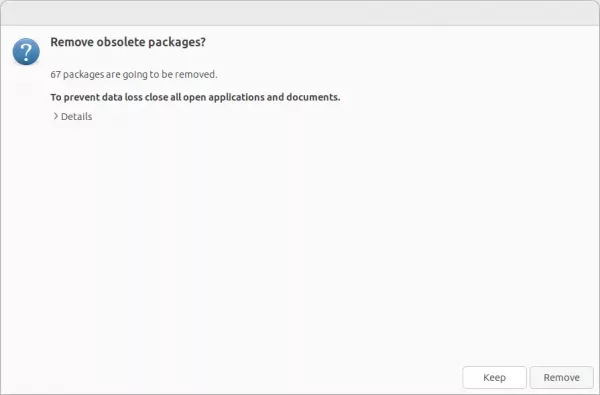
Before “Cleaning up”, you need to do one more mouse click to confirm.
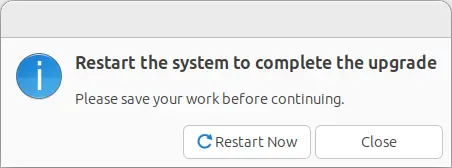
If everything’s going well, it will ask to restart computer when done.
After all, verify your Ubuntu edition, either by opening “Settings” and navigate to ‘About’ page, or run command in terminal (Ctrl+Alt+T):
cat /etc/issue
That’s all. Enjoy!


