![]()
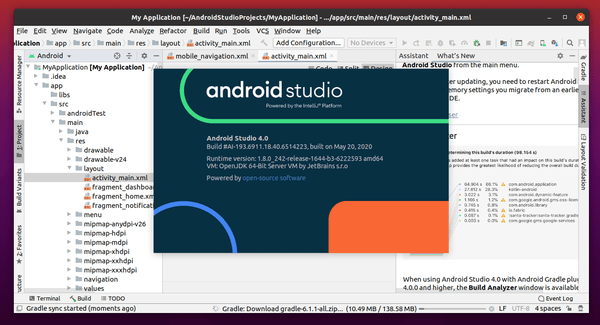
Android Studio 4.0 was released a day ago. Here’s how to install it in Ubuntu 18.04, Ubuntu 19.10, Ubuntu 20.04.
Android Studio 4.0 features a new Motion Editor, improved Layout Inspector, Clangd support for C++, smart editor features, enhancements to the CPU Profiler, Java 8 language library desugaring in D8 and R8, and much more other changes. See the release note for more.

How to Install Android Studio 4.0 in Ubuntu:
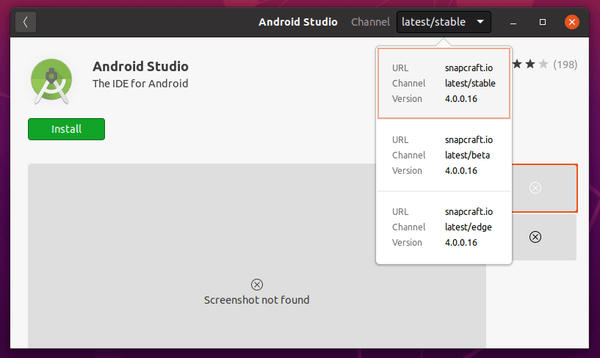
The containerized Snap package is available to install in Ubuntu Software for Ubuntu 18.04 and higher:

Don’t like Snap application? You can also install Android Studio 4.0 easily via Ubuntu Make.
1.) Install the latest Ubuntu Make:
sudo add-apt-repository ppa:lyzardking/ubuntu-make

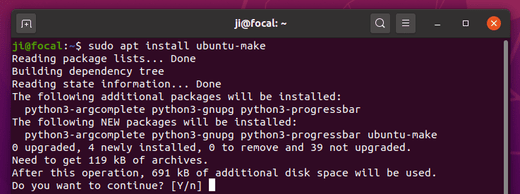
sudo apt update && sudo apt install ubuntu-make

2.) Install Android Studio via command:
umake android --accept-license
It automatically downloads the software package and dependencies from Google and installs on your system for single use by default.

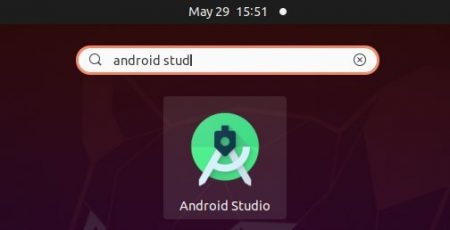
3.) Once installed, launch the IDE from ‘Show Applications’ menu. Restart you machine if you don’t see the icon, or run sh ~/.local/share/umake/android/android-studio/bin/studio.sh command to launch it from terminal.

Uninstall:
You may remove Ubuntu Make PPA by running command:
sudo add-apt-repository --remove ppa:lyzardking/ubuntu-make
And remove Android Studio via command:
umake android --remove

