This tutorial shows how to install the latest version of Webmin via its official apt repository in Ubuntu 18.04 server and receive future updates.
Webmin is a web-based system configuration tool to configure operating system internals, such as users, disk quotas, services or configuration files, as well as modify and control open-source apps, such as the Apache HTTP Server, PHP or MySQL.
Login your Ubuntu server and run following commands one by one to add Webmin apt repository and install the software.
1.) First run command to install required packages to manage the repositories.
sudo apt-get install software-properties-common apt-transport-https
2.) Download and install the repository key via command:
wget -q http://www.webmin.com/jcameron-key.asc -O- | sudo apt-key add -
3.) Finally add the Webmin’s official apt repository by running command:
sudo add-apt-repository "deb https://download.webmin.com/download/repository sarge contrib"
4.) After that, you can install the latest version of the software in any time via commands:
sudo apt-get update

sudo apt-get install webmin
Or you can setup automatic software updates to make it always up-to-date.
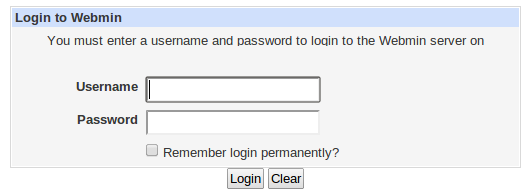
To get access to the Ubuntu server via webmin, in your client’s web browser go to https://SERVER-IP:10000. And login with root or any user who can use ‘sudo‘.

Note: If you installed ufw , you have to run command sudo ufw allow 10000 to allow Webmin through the firewall.

5.) (Optional) To remove the apt repository, run command:
sudo add-apt-repository --remove "deb https://download.webmin.com/download/repository sarge contrib"
And remove the Webmin via command:
sudo apt-get remove webmin


