Free collaborative drawing program Drawpile 2.1.13 was released a day ago with High-DPI icons and scaling enabled, and other improvements. Here’s how to install it in Ubuntu 18.04 and higher.
Drawpile 2.1.13 release highlights:
- Enabled High-DPI icons and scaling (crisp toolbar buttons on Retina displays!)
- Removed arbitrary OpenRaster image size limit
- Disabled brush preset drag&drop reordering.
- UI improvements and bug-fixes to Brush color, Eraser, Brush blending mode

How to Install Drawpile 2.1.13 in Ubuntu:
Drawpile is available for Ubuntu Linux via Flatpak (containerized software package).
For Ubuntu 18.04 and higher, open terminal either via Ctrl+Alt+T keyboard shortcut or by searching for ‘terminal’ from application menu. When it opens, run following commands one by one.
1.) Install Flatpak framework and add Flathub repository.
If you’re first time installing a flatpak package, you may need to install the flatpak framework by running command:
sudo apt-get install flatpak
Type user password (no asterisk feedback) when it prompts and hit Enter.

Also add Flathub repository, official repository contains a large list of flatpak packages, via command:
flatpak remote-add --if-not-exists flathub https://flathub.org/repo/flathub.flatpakrepo

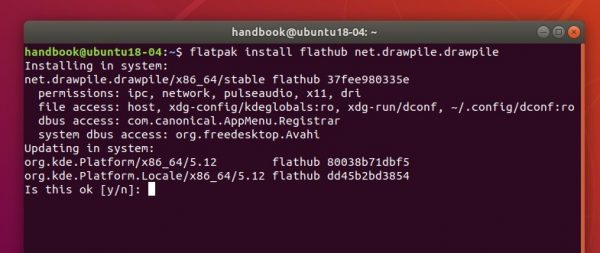
3. Finally install Drawpile via command:
flatpak install flathub net.drawpile.drawpile

Once installed, launch it from system application menu and enjoy!
(Update) If you’ve an old version installed via previous steps, simply run one command to update Drawpile package:
flatpak update net.drawpile.drawpile
(Optional) To remove the software run command in terminal:
flatpak uninstall net.drawpile.drawpile


