![]()
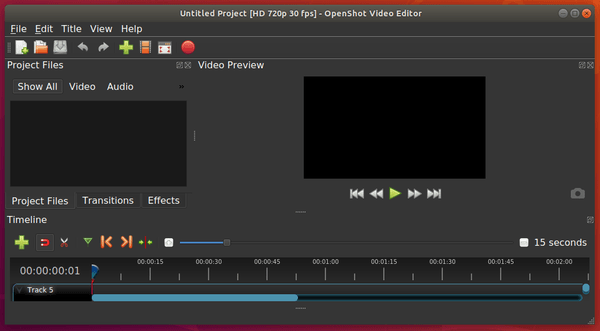
OpenShot video editor 2.5.1 was released a day ago. Here’s how to install it in Ubuntu 16.04, Ubuntu 18.04, Ubuntu 19.10, and derivatives via PPA.
OpenShot 2.5.1 features faster performance, huge optimizations with effects, and improved UTF-8 character support. Release highlights include:
- UTF-8 Project Encoding Bug Fix (for non-ASCII characters)
- Auto-Repair UTF-8 Corrupted Projects
- Thumbnail Server UTF-8 Encoding
- Fixed Broken Color-Shift and Shift Effects
- Optimize Saturation, Hue, Blur, Wave, Brightness, Pixelate Effects
- Frame: Fix interlaced AddImage
- Raise Preview Cache to CPUs X 8 Frames (max 64)
- Enhance Json Data Handling
- Improve Travis Speed (remove homebrew from Mac builds)
- Auto-Update HEX Version (for older CMake versions)
How to Install OpenShot 2.5.1 in Ubuntu:
1. Open terminal from software launcher (or press Ctrl+Alt+T), when it opens, run command to add the PPA:
sudo add-apt-repository ppa:openshot.developers/ppa
Type user password (no asterisk feedback due to security reason) when it prompts and hit Enter.

2. Then run following commands one by one to refresh repository cache and install OpenShot:
sudo apt update

sudo apt install openshot-qt
Also it’s recommended to upgrade your system libraries via sudo apt upgrade to avoid launching issue.
Uninstall:
To uninstall openshot video editor, run following command in terminal:
sudo apt-get remove --autoremove openshot-qt
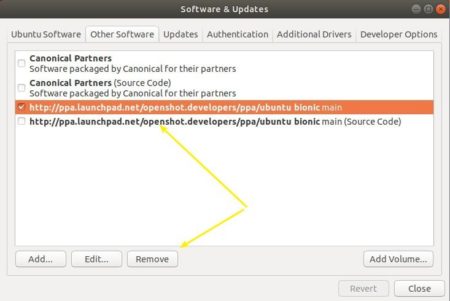
And remove the PPA by launching “Software & Updates” and navigating to Other Software tab.