


It’s still hard to buy a Raspberry Pi right now due to supply shortages globally and not many local sellers for it so we went looking into the Orange Pi’s as an alternative. One perk is that these some of these boards have onboard eMMC memory so that the OS is stored on the board itself. Here’s how to install ubuntu Linux to the flash memory.
At open source society, we love our SBC’s ( single board computers) for a number of reasons and find them hand for a multitude of projects, be it as a pihole, file & print server, test/dev environment, home assistant and more… this is in part of the fact that most of the projects work on these type of boards due to the verity of Linux systems that work as the host OS. It’s a perfect job for a Raspberry Pi and others like it. The main catch, of course, is that because of the chip shortage we haven’t been able to buy a Raspberry Pi for the last couple of years.
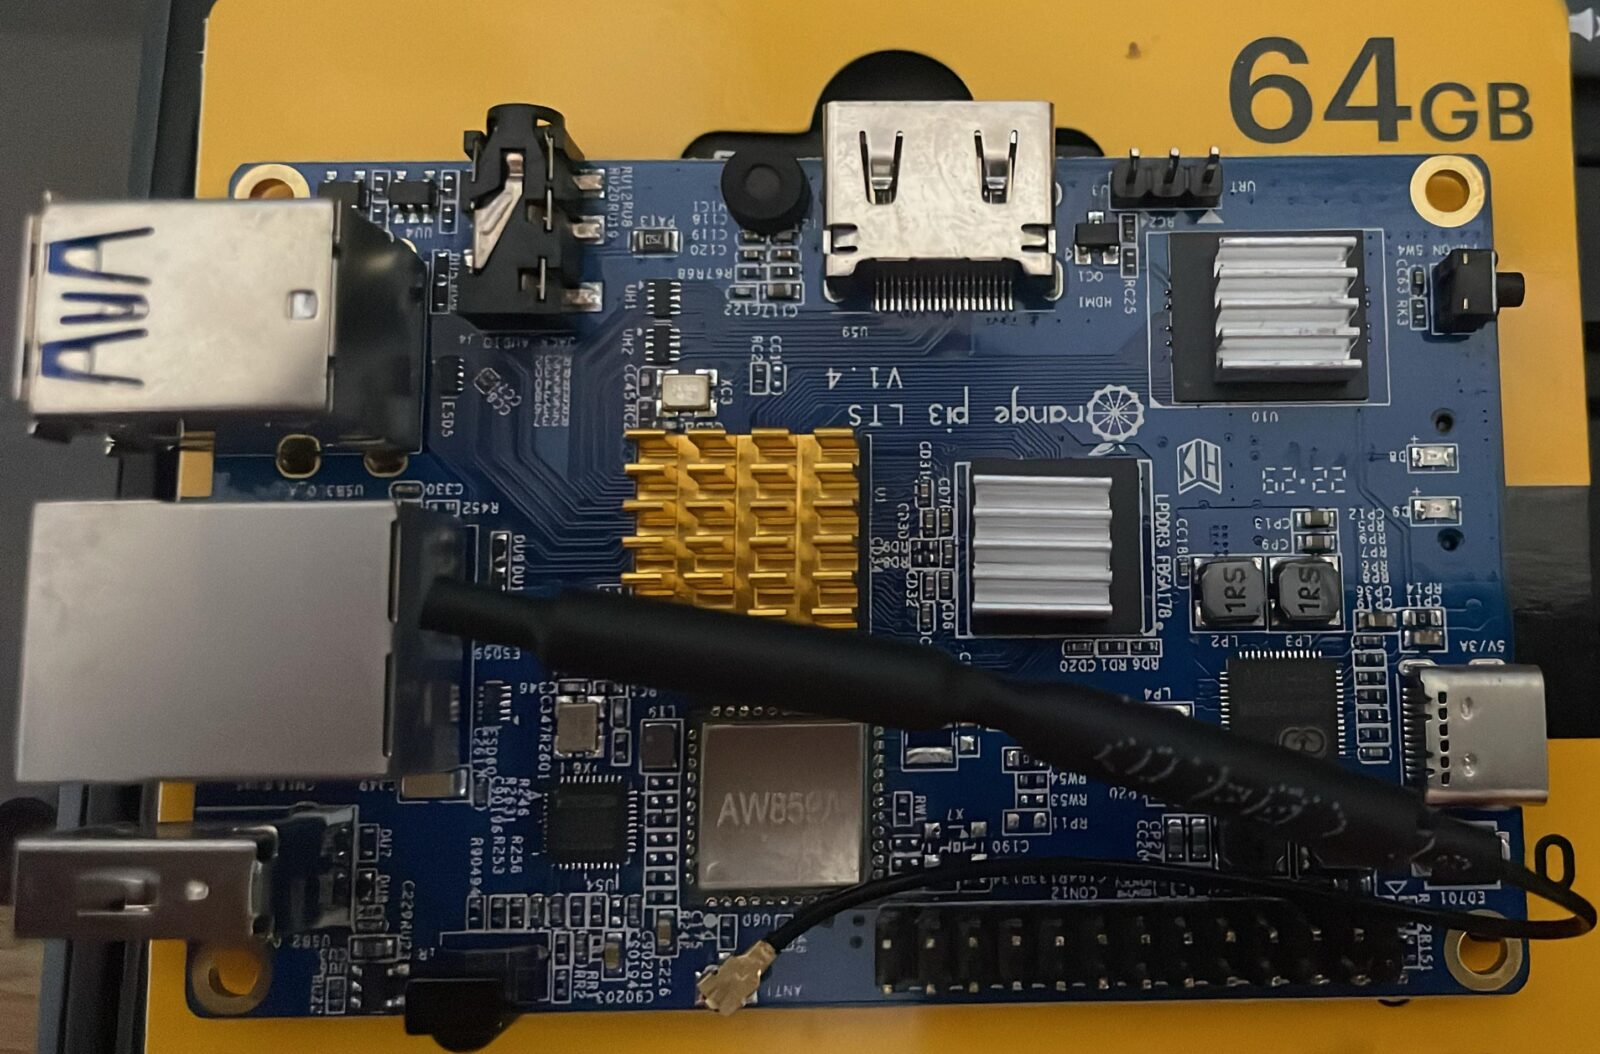
These past couple of months we spent some time trying the Orange Pi 3 LTS and others (other posts like this will be written) as a suitable alternative, and we’re quite happy with it. One of the only drawbacks found is that the documentation is not nearly as complete. It may take a while to find the correct command for copying the Linux distro from memory card to the onboard eMMC flash memory:
$ nand-sata-install
This is command is nowhere to be found on the official wiki, and the documentation available for download includes a deprecated command that no longer works. There is also a bit more that goes into the install so I’m going to walk through the process in this tutorial.
Download Ubuntu and Flash onto an SD Card for installation
The first step is to download an Ubuntu image and flash it onto an SD Card. We will boot the Orange Pi 3 LTS from this SD Card and then install the OS onto the eMMC storage.
- Go to the Orange Pi downloads page and choose Ubuntu.
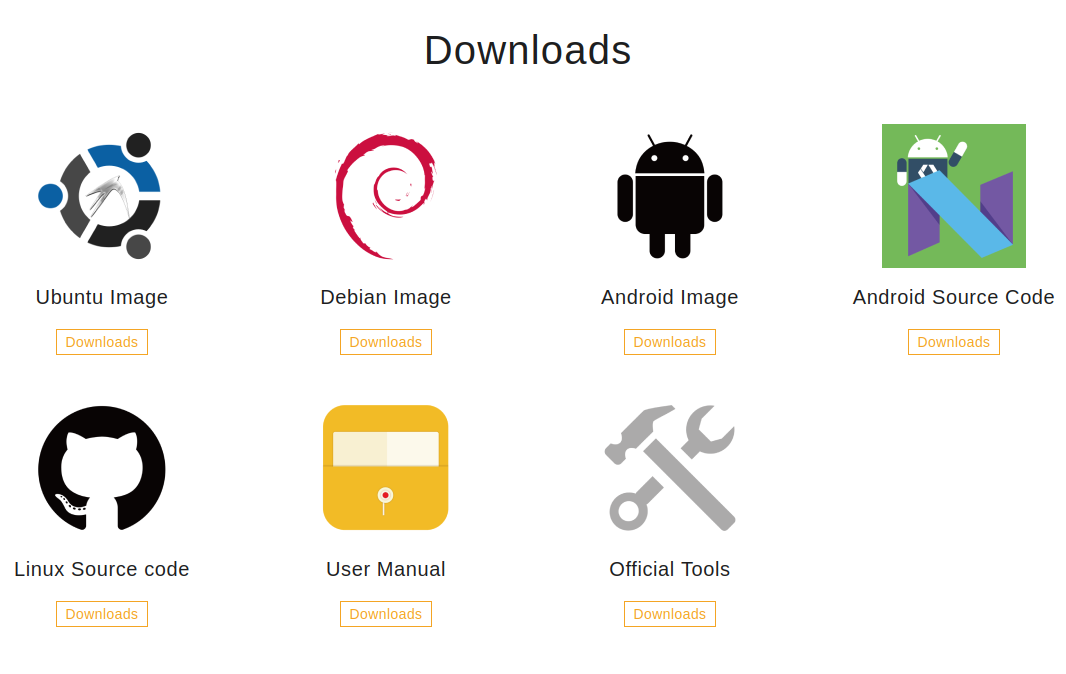
Orangepi3-lts_3.0.8_ubuntu_jammy_server_linux5.16.17.7zarchive as I don’t need a desktop for this project. However, installation for any of these images is largely the same. - Extract the
.imgfile from the archive you just downloaded - Download Balena Etcher, which is useful for flashing installation images to an SD Card
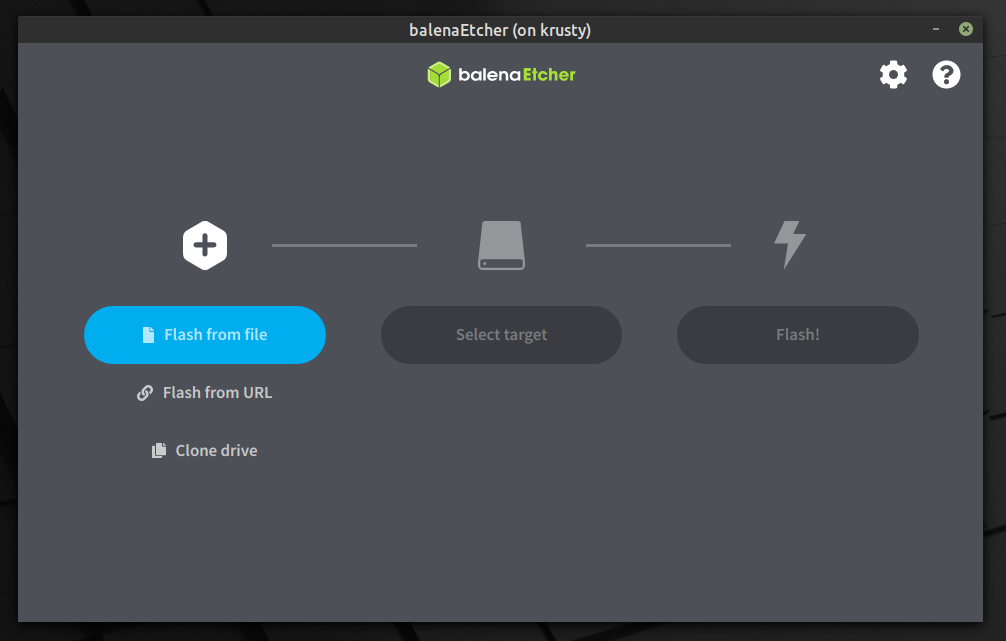
- Select your
.imgfile, chose your SD card, and click on flash.


I have seen mention that this SD card should be smaller than the 8GB eMMC on which we will be installing the OS. However, I haven’t verified this requirement. I happened to be using a 2GB card and it works well.
Boot in Linux and Install on the eMMC Flash Memory
Place your SD card in the slot on the bottom of the Oragne Pi 3 LTS board. Connect your monitor via HDMI and your keyboard using the USB ports. Apply power to the USB-C connector on the board.

- After boot, log in with username
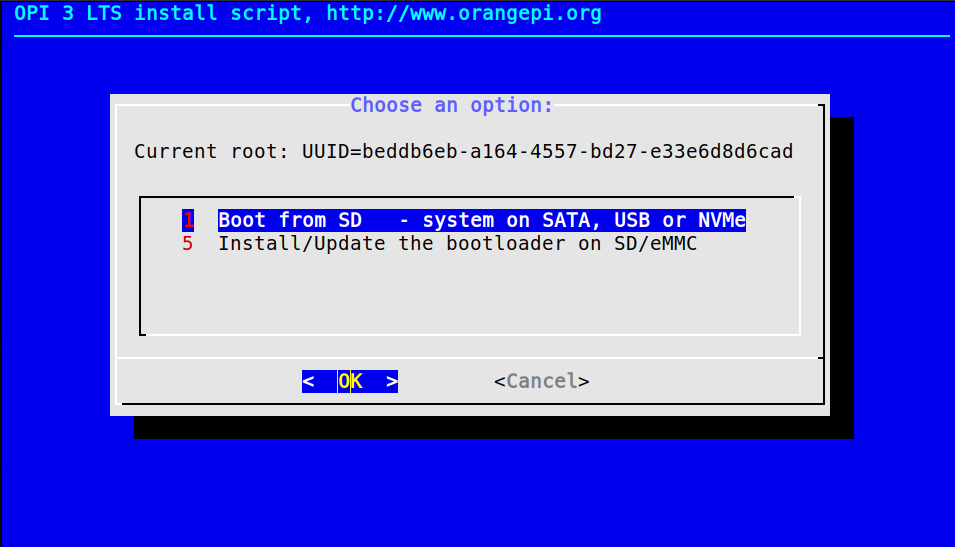
rootand passwordorangepi - Type
nand-sata-installto begin the installation process - Choose to boot from eMMC, choose
EXT4, then accept the warning that the process will erase all contents of the eMMC memory - After a few minutes you will be given the option to power down the board. Do so and remove the SD Card.

Installation of Linux on the eMMC is now complete
Bonus: Connecting to WiFi and fixing the DNS
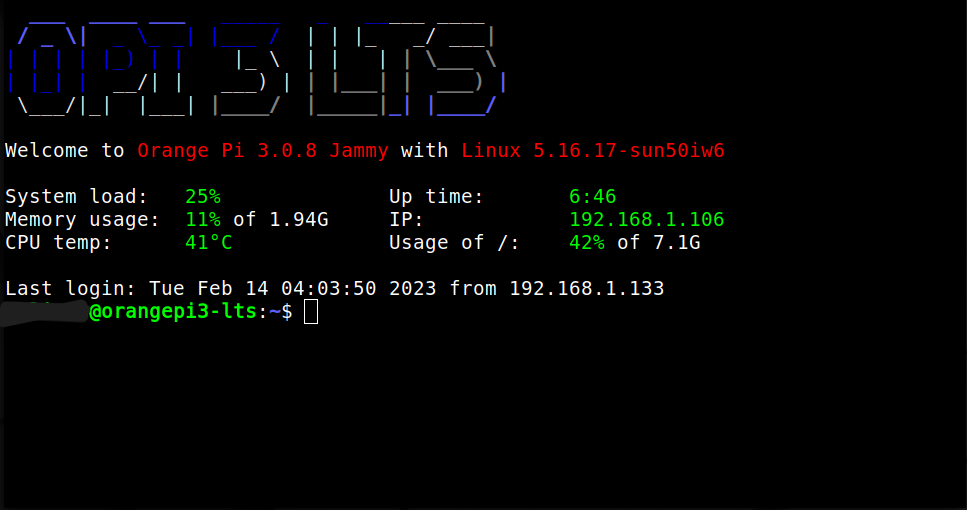
At this point Linux is installed and working on the Orange Pi. You can boot the board and log in with root/orangepi. If you are using an Ethernet connection you likely already have internet working, but I only wanted to use WiFi. Let’s step through the process of setting that up.
- Add WiFi to the network interfaces
$ sudo nano /etc/network/interfaces #Add the following to the bottom of this file: auto wlan0 iface wlan0 inet dhcp wpa-ssid your-wifi-ssid wpa-psk your-wifi-password - WiFi will work after a reboot but our DNS wasn’t working as we needed to setup pihole on this box. So a workaround to fix this is to edit the systemd resolved configuration:
$ sudo nano /etc/resolv.conf #Add the folling to the bottom of this file: search domain.name nameserver 8.8.8.8 nameserver 1.1.1.1 nameserver 1.0.0.1 - Reboot the board by typing
reboot.
Wrapping Up
The Orange Pi is now running from the onboard eMMC, it’s connected to your WiFi network, and it’s able to use a DNS server for domain name lookup. There is still some work to do. I recommend you add a public key for logging in over SSH and disable password-based authentication. But that’s a post for another day.
Alternative Operating Systems
We love the open source community for not limiting us to just the supported images by the manufactures but also providing us with alternatives that may be better documented and offer more options to these boards!
- Diet Pi is an extremely lightweight Debian OS, highly optimised for minimal CPU and RAM resource usage, ensuring your SBC always runs at its maximum potential
- Armbian is a computing build framework that allows users to create ready-to-use images with working kernels in variable user space configurations for various single board computers (SBCs). It provides various pre-build images for supported boards. Armbian’s primary objective is to deliver a consistent and reliable system offering that can seamlessly operate on any of the numerous ARM single-board computers, often overlooked by mainstream operating systems.
- Batocera team is an open-source and completely free retro-gaming distribution that can be copied to a USB stick or an SD card with the aim of turning any computer/nano computer into a gaming console during a game or permanently. Batocera.linux does not require any modification on your computer. Note that you must own the games you play in order to comply with the law.
- Mainsail OS is a prebuilt image for single board computers that already includes Mainsail, Moonraker and Klipper.MainsailOS is a prebuilt image for several Single Board Computers (SBC) models. It contains some pre-configuration and software needed to run with Klipper firmware and Mainsail as your WebGUI to control your 3D printer.
- Lakka is a lightweight Linux distribution that transforms a small computer into a full blown emulation console.The distribution is based on OpenELEC and runs the RetroArch game emulator. Lakka can run on a variety of hardware platforms, including PCs, Orange Pi development boards, and WeTek Play devices.
- Manjaro is a free and open source Linux operating system that emphasizes user privacy and control of their hardware. It is user-friendly and suitable for those new to computers, and can be installed on a wide range of devices. Architectures supported include x86-64 and ARM. Manjaro provides numerous customization options and applications, as well as security and privacy features, It also offers several graphical user interfaces.