


![]()
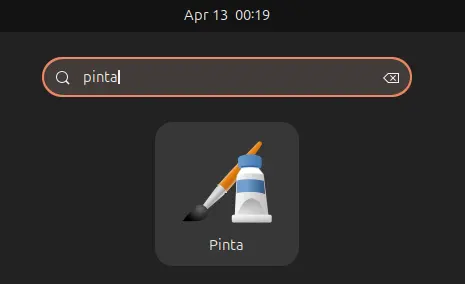
Pinta, the popular free open-source drawing and image editing app, released new major 3.0 release yesterday. Here are the new features and how to install guide for Ubuntu users.
Pinta 3.0 features GTK 4.0 and Libadwaita for its modern user interface that’s well integrated in recent GNOME desktop environments. It now automatically switches between light and dark depends on desktop color style, and fits well in different screen sizes with adaptive interface.

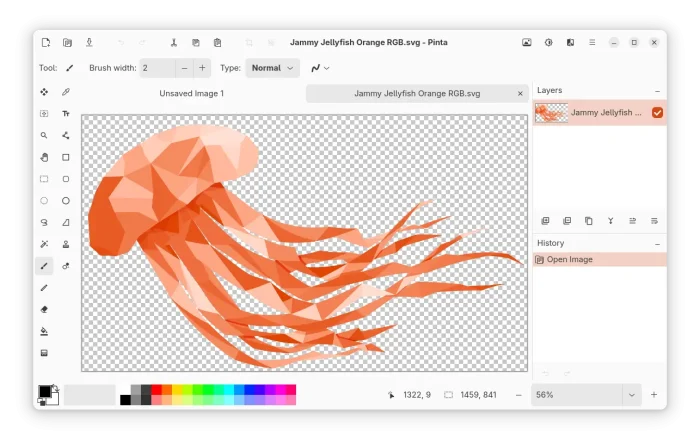
Pinta 3.0 light mode
Besides the UI updates, the new release added some new effects:
- Dithering
- Voronoi Diagram
- Vignette and Dents
- Feather Object
- Align Object
- Outline Object
It also restored Add-ins support, improved color picker dialog, added ability to change canvas grid size, and choose tile type and edge behavior in tile reflection effect.

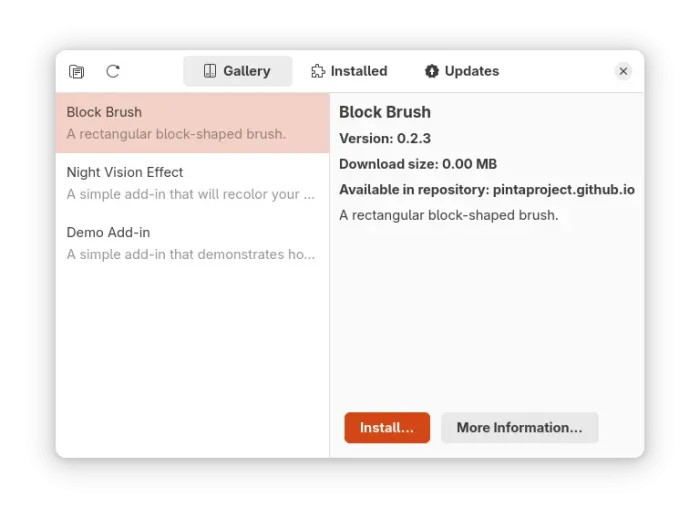
Pinta 3.0 add-in manager
Other changes include:
- Export portable pixmap (.ppm) files
- Nearest-neighbor resampling mode when resizing images
- Customizable gradients in fractal and clouds effects
- Offset Selection (Ctrl+Shift+O) in Edit menu.
- Support trackpad pinch to zoom gesture.
- Support
[and]keys to adjust brush size and line width.
There are as well many other improvements and various bug-fixes. See the Github releases page for details.
How to Install Pinta 3.0 in Ubuntu Linux
Pinta 3.0 is available to install in Ubuntu, through 3 different ways:
- Flatpak package,
- Snap package,
- Compile from source code.
Option 1: Pinta Snap package
For all current Ubuntu releases, the easiest way to get the Pinta image editor is installing the official Snap package.
It runs in sandbox environment, and so far supports both amd64 (AMD/Intel) and arm64 (e.g., Raspberry Pi) platforms.
To get it, simply search & install Pinta in App Center (or Ubuntu Software for 22.04 and earlier).


Option 2: Pinta Flatpak package
For choice, user may also install the image editor through Flatpak package, which also runs in sandbox environment and supports both amd64 (AMD/Intel) and arm64 (e.g., Raspberry Pi) platforms.
Linux Mint 21/22 users can simply search and install the Pinta Flatpak package from Software Manager.
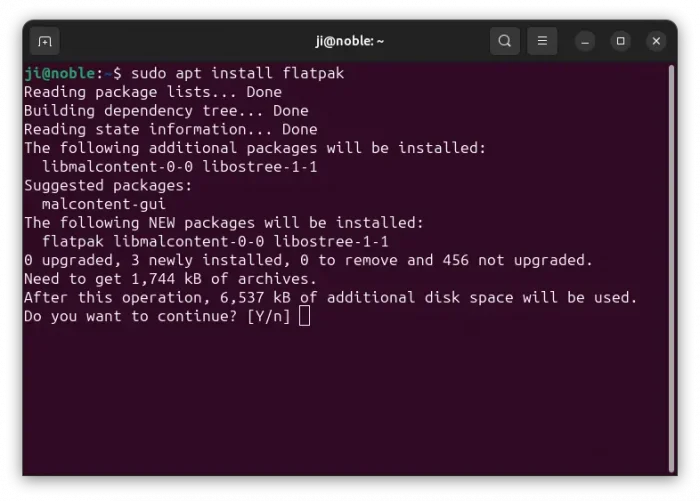
While Debian/Ubuntu & other Linux may run the commands below one by one to install the package:
- First, press
Ctrl+Alt+Tto open up a terminal window. When it opens, run command to install Flatpak daemon:sudo apt install flatpak
For other Linux, follow the official setup guide to enable Flatpak support.
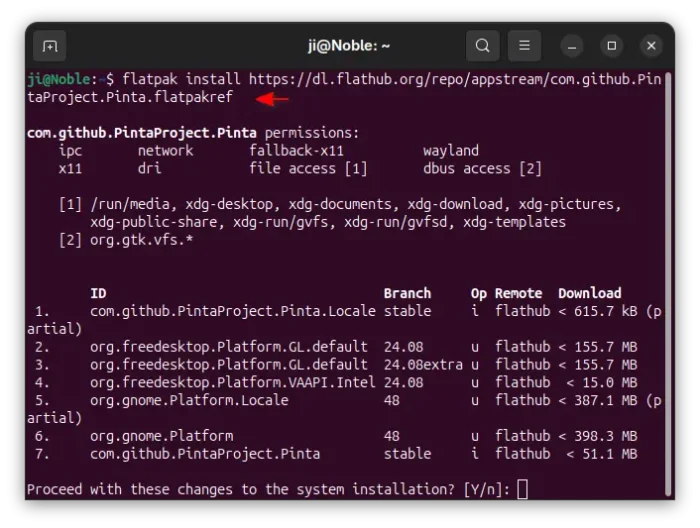
- Next, run the single command below to install Pinta as Flatpak package:
flatpak install https://dl.flathub.org/repo/appstream/com.github.PintaProject.Pinta.flatpakref


After installed the package, either launch from GNOME Overview or start menu depends on Desktop Environment:

If the app icon is not visible, either log out and back in to apply environment variable change, or use the command below instead to start from terminal:
flatpak run com.github.PintaProject.Pinta
And, use the command below to check updates:
flatpak update com.github.PintaProject.Pinta
Option 3: Compile Pinta 3.0 from Source Code
If you don’t like running the application in sandbox, or your CPU architecture type is not supported in the options above, then try building it from source.
NOTE: This option does NOT work in Ubuntu 22.04 and earlier, as Pinta 3.0 requires GTK 4 > 4.12 and LibAdwaita >= 1.4 that only 24.04 and higher match.
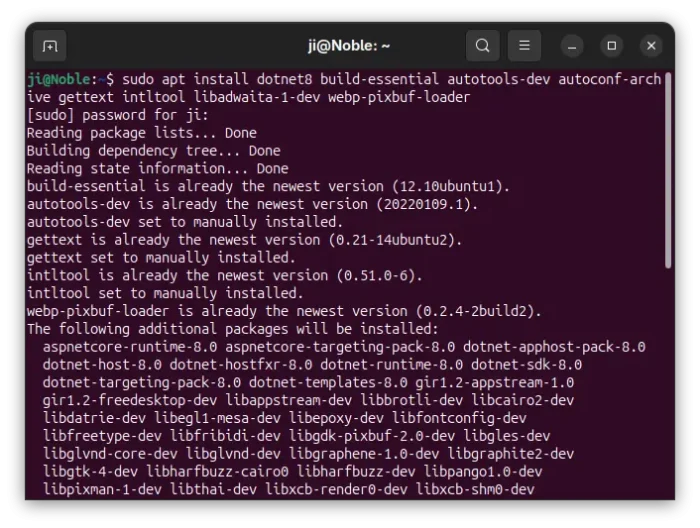
1. First, press Ctrl+Alt+T to open up a terminal window. Then run command below to install the dependency packages for building the project:
sudo apt install dotnet8 build-essential autotools-dev autoconf-archive gettext intltool libadwaita-1-dev webp-pixbuf-loader
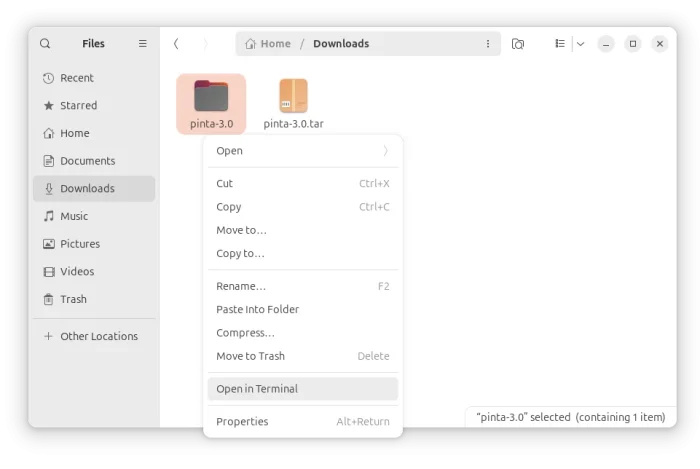
2. Next, download the Pinta 3.0 source tarball from Github page via the link below:
At the moment, it’s either “pinta-3.0.tar.gz” or “pinta-3.0.zip”.
After downloaded the package, decompress it from your Downloads folder. Then, right-click on the extracted folder and select “Open in Terminal” to open source folder as working directory in terminal.

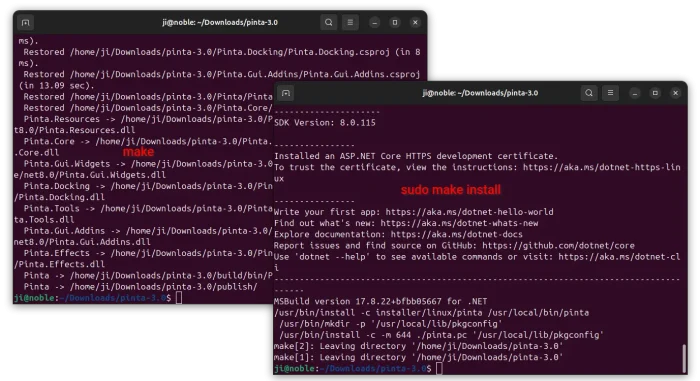
3. Finally, in the pop-up terminal window, run the commands below one by one to configure, build and install Pinta from source.
- First, configure the source:
./configure
For choice, you may run
./configure --helpto list all available configure options. - Next, build via command:
make -j4
Here
-j4tells to start 4 threads in parallel. You may replace number 4 according how many CPU cores you have. - If everything goes well, finally install Pinta via:
sudo make install

When done, either start Pinta from menu (or search from GNOME Overview), or run the command below to start from terminal:
/usr/local/pinta
Uninstall Pinta 3.0
For Pinta Snap package, uninstall it either via App Center or Ubuntu Software, or by running the command below:
snap remove --purge pinta
To uninstall the Flatpak package, use command:
flatpak uninstall --delete-data com.github.PintaProject.Pinta
Optionally run flatpak uninstall --unused to remove useless runtime libraries.
For Pinta compiled from source, open the source folder in terminal and run command to uninstall:
sudo make uninstall
If you already deleted the source folder, then try manually removing the installed files:
sudo rm /usr/local/bin/pinta
sudo rm -R /usr/local/lib/pinta
sudo rm /usr/local/lib/pkgconfig/pinta.pc
sudo rm /usr/local/share/applications/pinta.desktop
sudo rm /usr/local/share/pixmaps/pinta.xpm
sudo rm /usr/local/share/locale/*/LC_MESSAGES/pinta.mo
sudo rm /usr/local/share/metainfo/pinta.appdata.xml
sudo rm /usr/local/share/man/man1/pinta.1.gz
NOTE the last commands assumed you configured the source with default options that installed Pinta to /usr/local.